Email
Pinterest
Instagram
Facebook
X
Copy Link
Published by Sister Sister Home
Shop The Looks
All Looks
Home Decor
Furniture
Kitchen & Dining
Outdoor Living
Entertaining & Occasions
Bed & Bath
Fashion & Accessories
Activewear & Wellness
Health & Beauty
Storage & Organization
Dog-Friendly Finds
Seasonal Favorites
New Finds
Design Services
Search for:
Shop The Looks
All Looks
Home Decor
Furniture
Kitchen & Dining
Outdoor Living
Entertaining & Occasions
Bed & Bath
Fashion & Accessories
Activewear & Wellness
Health & Beauty
Storage & Organization
Dog-Friendly Finds
Seasonal Favorites
New Finds
Design Services
Search for:
Removing the Pony Wall
Why Removal
read more
Domino Effect
read more
The Chain Reaction
read more
The Great Beam Debate
read more
Adding Minimalistic Iron Railings
read more
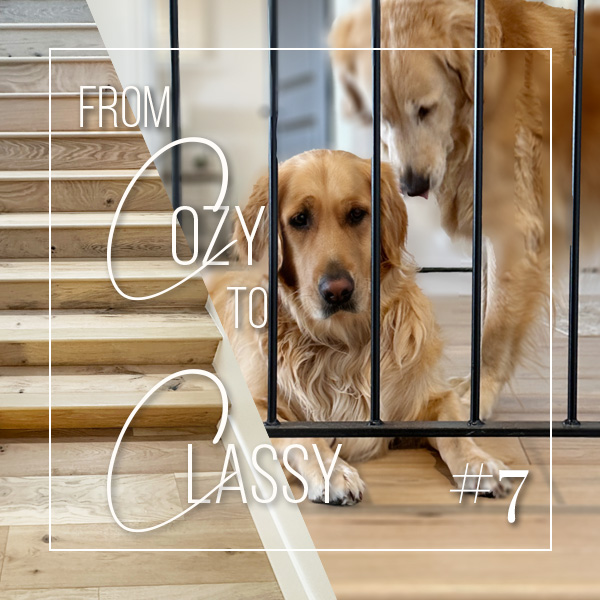
From Cozy to Classy
read more
Loading...